
Putting clothes on AI models is a different job from shooting packshots or product videos. The fabric, print, length and closures have to stay right on a believable person, image after image. This guide sorts three tools by the photo you start from. It also shows how to brief them and how to run a small pilot that checks the garment as well as the overall look.
Quick picks by starting point
Three AI fashion model tools side by side
 Botika
- Best fit
- Recurring fashion catalogs built from garment references
- Plan
- Pro $55/month billed monthly: 50 credits/month, 2K output
- Workflow
- Flat lay, ghost mannequin or existing on-model photo to generated model image, in a web app
- Watch out
- 1 credit/photo, 5/video; limited models and backgrounds. Included retouch rounds are listed for annual plans.
 OnModel
- Best fit
- Photos of already-worn clothing in a Shopify store
- Plan
- Shopify Basic $9/month billed monthly: 300 model swaps (Free: 25 swaps)
- Workflow
- Model Swap Shopify app: new model, background or face on existing model photos, in batches
- Watch out
- Model-swap quota; ask for separate clothing-to-model service pricing and confirm its scope before buying.
 Flair AI
- Best fit
- Designer-led campaign looks with controlled composition
- Plan
- Pro+ $35/month billed monthly: 80 generated images, Company Commercial License listed (Free: 5 images, 1 custom model)
- Workflow
- Product photos to chosen model attributes, poses and style, then setting, lighting and refinements
- Watch out
- Instant and ad generation use 4x the standard quota; no API promised at Pro+
Botika: catalog images from garment references
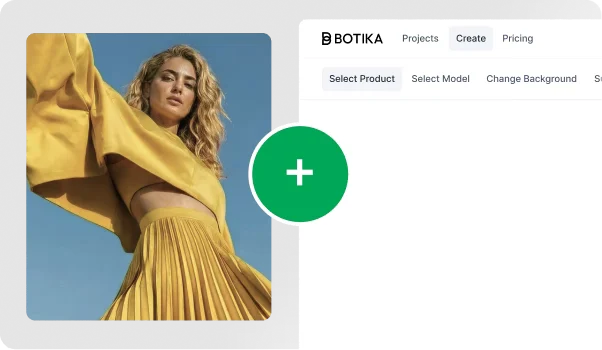
Botika turns flat lays, ghost mannequin shots or existing on-model photos into generated fashion images. You choose the models and backgrounds in a web workflow.
Pick it if new garments arrive every season and you want one consistent look. Fill your pilot with varied textures, from plain cotton to satin and knit, because accuracy on difficult fabrics is something you have to check for yourself. Plan internal review time for every image instead of expecting someone else to catch errors.
OnModel: model swaps for existing Shopify photos
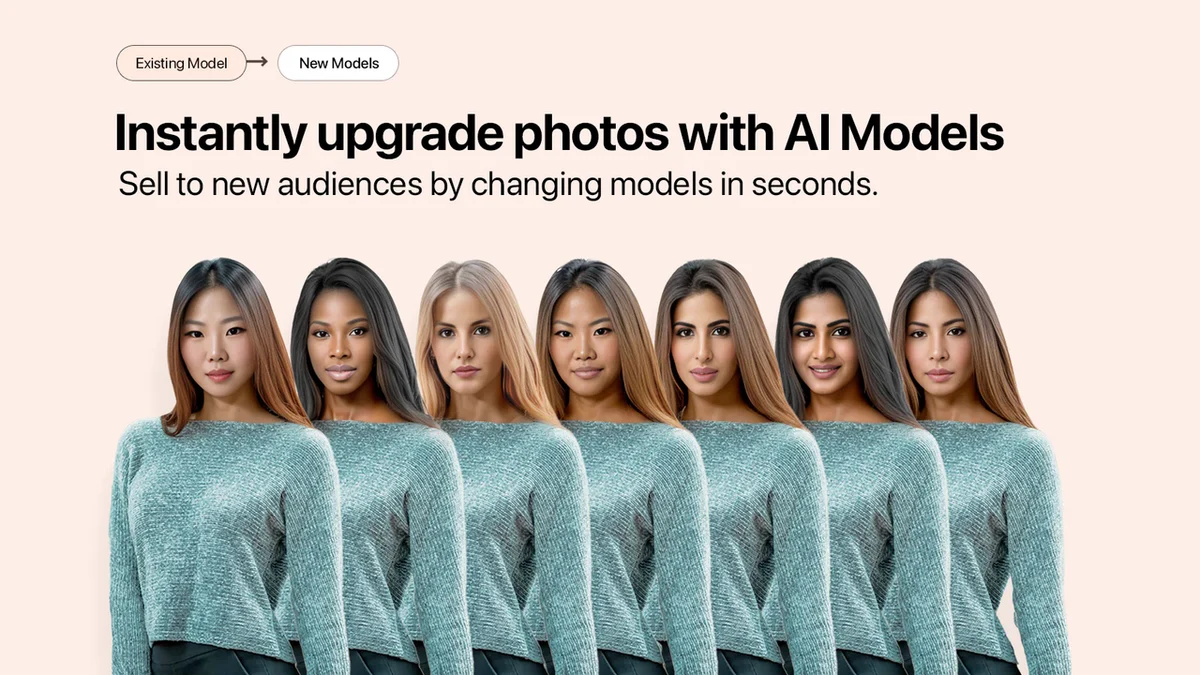
OnModel, by Trendage Inc, runs the Model Swap app for Shopify. It changes the model or background in existing photos, adds faces to cropped shots and works in batches.
Choose it if you already have good on-model photos and want new faces or settings without a reshoot. The garment comes from your original shot, so check hands, hair and the edges around the clothes most closely. Several tools have similar names, so make sure you install the right app before comparing quotas.
Explore the separate clothing-to-model service ↗
Flair AI: designed campaign looks on a canvas
Flair AI starts from product photos. You pick model attributes, poses and styles, then the setting and lighting, using custom models, templates and real-time collaboration on a canvas.
Choose it for art-directed campaign scenes. Set a reference look first, then budget time for composition and review. Approve a small set before applying the direction across a collection, and compare garment details with the original after each revision.
1. Start from the photo you already have
The photo you already have matters more than the brand. Sort your SKUs by input type before you compare plans.
- Garment already worn by a model: use a swap workflow to change the model, face or background. The clothing itself still comes from the real shot.
- Flat lay or ghost mannequin only: use a tool that dresses a virtual model. Keep real front, back and detail shots of the same SKU, color and size as references.
- Designing new garments and letting shoppers try clothes on are separate tasks. A generated image does not measure fit or show how a size will actually sit on a body.
2. Build a brief and a reference kit
Prepare clear references and list the garment details that must remain unchanged. Keep unknown details out of the brief.
- For each SKU: the SKU code, color name and fabric composition from your product data, plus front, back and close-ups of the logo, stitching, seams, buttons, hem and sleeve length.
- Keep one approved model look, background and crop for the whole drop. Use a range of adult models across the campaign, without making up heights or measurements.
- ChatGPT or Claude can turn your notes into a structured brief with fixed garment facts, the pose and background you want, changes that are not allowed, and open questions. The product owner then checks it against the real item.
3. Run an 8-garment pilot
A small set of deliberately hard garments tells you more than a hundred plain tees. Plan it as one contact sheet you can review in one sitting.
- Use a solid tee, printed tee, striped shirt, knit, satin piece, denim, structured jacket and long dress. Aim for 2 on-model views each, so 16 accepted images. At up to 2 attempts per view, that is 32 planned candidates, and some may still fail.
- A person compares every candidate with the real garment and the references: logo, font, buttons, pockets, hem, texture, transparency, color, silhouette, and any details hidden by hands.
- Reject images that invent fit or change the colorway. Use real photos for backs and hidden construction instead of generating them, and record who approved each image before anything is published.
4. Calculate the cost per approved SKU image
A plan price tells you little until you know how many images you keep. The example below is hypothetical, not a vendor benchmark.
- 20 SKUs with 2 approved images each makes 40 images. If subscription, extra usage and human review add up to $120, that is $3 per image. If only 20 pass, it becomes $6.
- Don’t count included credits twice. Quotas also count different things: photos, videos or model swaps. Discarded retakes still use capacity, so check the real usage counter after the pilot.
- 100 SKUs at 2 views each means 200 approved images. Apply your pilot approval rate before buying capacity, and only switch to annual billing once the pilot results hold up.
5. Publish cleanly and give your team time back
Approved images still need careful handling before they replace anything in your catalog.
- Name files SKU-color-view-version and store each original reference with its approved output. Write alt text that describes the visible garment, without invented measurements. Keep real photos, material details and the size chart next to the AI images.
- Check that your plan terms and permissions cover any real models or source photos you reuse. A Codex or Claude Code script can map files from a CSV, check names and resize images. Do a dry run and get human approval before replacing catalog images.
- An agency can offer an 8-SKU setup with review and then a batch service, without promising a specific return. Teams can spend the saved time on buying the range, negotiating with suppliers, styling advice and service on the shop floor.
FAQ
Which tool fits which starting photo?
Photos of clothing already being worn suit a model swap, which is OnModel’s focus. Flat lays and ghost mannequin shots suit Botika or Flair AI, which dress a generated model from product references.
Are AI fashion models the same as virtual try-on or styling advice?
No. They create catalog images of a garment on a generated person. They don’t measure a shopper, predict a size or replace advice from someone who knows the collection.
Can I start for free?
OnModel lists a free plan with 25 swaps. Flair AI lists a free plan with 5 images and 1 custom model. For Botika, check whether a trial is offered when you sign up.
Can a flat lay become a photo of worn clothing?
Yes, with a garment-to-model workflow. OnModel lists a separate Clothing to Models service for flat lays and mannequin photos: confirm its price and scope instead of treating the Shopify model-swap quota as interchangeable.
Will the exact garment be preserved?
Compare every image with the real item, including the logo, buttons, hem, texture, transparency and color. Reject any image with invented details or the wrong colorway.
How should I budget for 20 or 100 SKUs?
For 20 SKUs with two approved images each, plan 40 assets; for 100 SKUs, 200. Use the eight-garment pilot to estimate review time and the share of generations you keep before buying capacity.
How can ChatGPT, Claude, Codex or Claude Code help?
ChatGPT or Claude can structure briefs with fixed garment facts and changes that are not allowed. Codex or Claude Code can script file mapping, name checks and resizing. A person still approves every image.
Can I reuse photos of a real model?
Before uploading, check the source-photo license, permissions for the person shown and your tool plan terms. Keep the relevant permissions with the project, especially when an agency supplies images for a client.
Sources · 20/10/2026
Sources checked on 20 October 2026: the official Botika, OnModel and Flair AI product and pricing pages. User ratings come from G2 for Botika (5 reviews) and Flair AI (8 reviews, covering the whole product), and from the Shopify App Store for OnModel (15 reviews). Because they come from different platforms, they are not a head-to-head benchmark.
Continue building your clothing catalog
Once your on-model images are approved, the same garments can be used for detailed product photos and short product videos for listings and ads.
 AI Product Photos: 3 Ecommerce Tools Compared for 2026
 AI Product Videos for Ecommerce: 3 Tools Compared in 2026
 Best AI Tools for Ecommerce in 2026: AdCreative vs Brevo vs Tidio vs GetResponse
Find the best AI tool
215 tools listed with features and pricing. Find the one that fits your needs.